• Systems
    • All Collections
    • MULTIVERSE® Power Distribution System
    • THIN System
      • Products
    • Ground Control
    • AXIS
    • Metropolis
  • Products
    • All Lighting
    • Power Accessories
    • Components
  • Company
    • Visit The Showroom
    • Factory & Headquarters
    • In The News
    • Projects
    • Awards
    • Videos
    • About Us
  • Support
    • Contact Us
    • Product Catalog
    • Product Resources
    • Media Kits
    • Request 3D Files
    • FAQ
    • Terms & Conditions
    • Patents
  • Careers

FAQ: How Do I Choose the Right Power Supply for my Light Fixture?

Behind any low voltage light fixture is a power supply that provides energy for proper illumination. A power supply safely converts power to be compatible with low wattage fixtures without overloading the configuration. Follow our 5 steps to help you choose the right power supply for your fixture.


1. Determine Your Power Supply’s Location

The location will depend upon your space’s electrical setup. A remote power supply is a popular choice for fixtures that do not require direct wiring to a junction box. Users can install this separately from the fixture (but no further than 50 feet away) such as in a cabinet, attic, or utility room. A local power supply, housed in a canopy, is typically used when you have a junction box and/or cannot run new low voltage wiring. Learn more about the differences of these power supplies.


2. Find Out Your Location’s Voltage

Receptacles in countries worldwide vary since each location has their designated voltage. Discover the exact voltage of your location using our global voltage map below.

juniper lighting world right voltage map

Global Voltage Map


3. Calculate Your Fixture’s Total Wattage

The total wattage of the light fixture should be at least 10% less under the wattage of the power supply. In other words, do not push beyond a power supply’s maximum capacity. This can cause your fixture to overload. Be sure to add wattage together when powering multiples fixtures using the same power supply. Wattage for each fixture can be found on its product page, or you can contact us for help.


4. Select your Dimming Option

The most popular dimming option is 2-wire/Forward Phase/Triac dimming due to its smooth performance. The lifespan of an LED can reach up to 50,000 hours or 15 years when installing fixtures on a dimmer. 0-10V, an output range that controls dimming from 1V (lowest dimming level) up to 10V (highest light output), allows LED fixtures to function using less energy while also providing dimming capabilities. Lastly, 3-wire allows for a continuous, flicker-free dimming performance down to 1% without drop out or pop on but will require a third line voltage wire.


5. Consult with a Licensed Electrician

We encourage that you consult with a licensed electrician to confirm the right power supply for your light fixture or any electrical needs as a safety protocol. Once you’ve cleared your space’s requirements, you can contact our sales team for questions about our fixtures and compatibility.

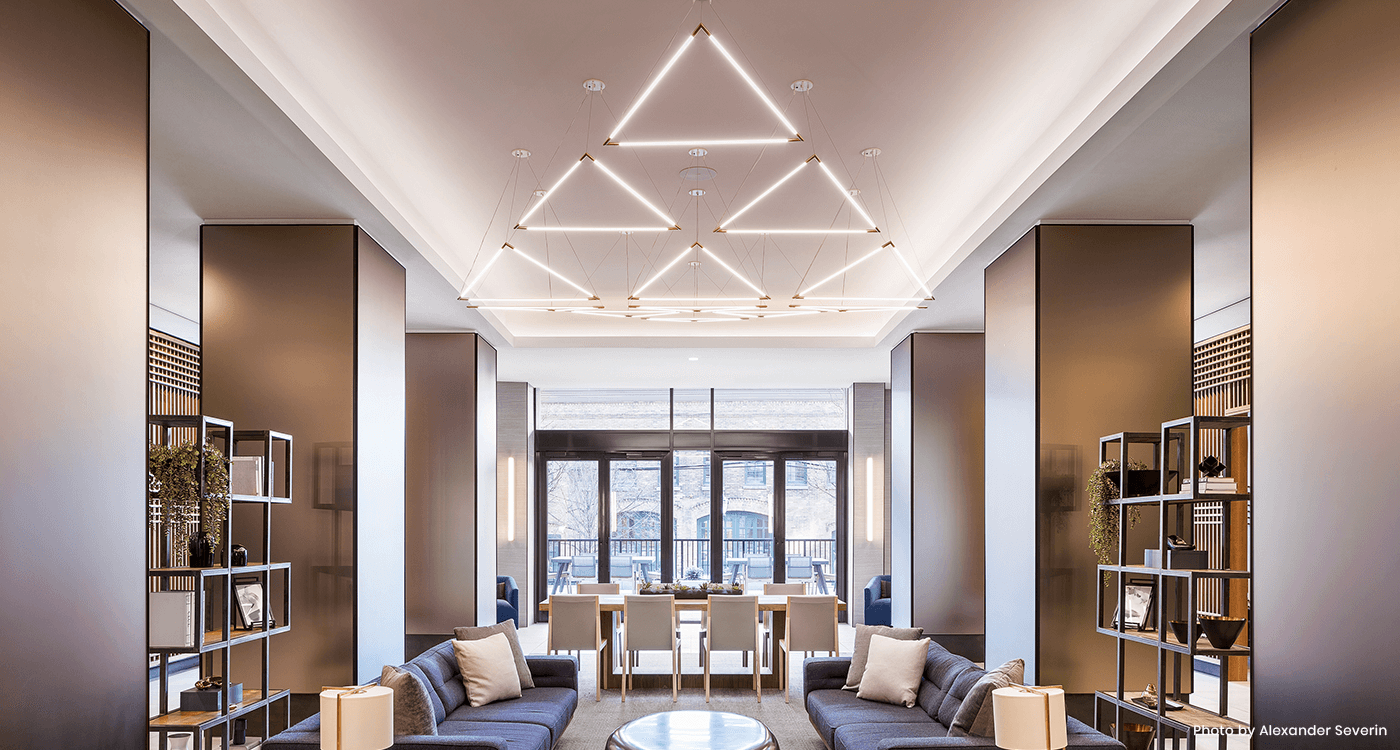
Juniper Lighting THIN Primaries Triangle Clustered Installation at Lenox Lobby Building
THIN Primaries Triangle Installation in Satin Brass. Photo by Alexander Severin
View All Lighting
Read More FAQ's
Discover Projects

RECENT POSTS

  • MULTIVERSE® Featured in Design Milk

    September 27, 2023Read more

  • MULTIVERSE® FEATURED IN AZURE MAGAZINE

    July 14, 2023Read more

  • JUNIPER FEATURED IN HARTFORD BUSINESS JOURNAL

    July 13, 2023Read more

CAN’T FIND WHAT YOU’RE LOOKING FOR?
SEND US AN EMAIL!

    • All Lighting
    • Power Accessories
    • Components
    • Visit The Showroom
    • In The News
    • Projects
    • Awards
    • Careers
    • About Us
    • Contact Us
    • Find A Retailer
    • FAQ
    • Terms & Conditions
    • Privacy Policy

      Get exclusive updates on new products, sales, and upcoming events.

      Please Enter a Valid Name.


      I am not a robot.Please confirm that you are not a robot.

      © 2023 JUNIPER DESIGN GROUP INC.